Page 37 - EngineerIT November 2021
P. 37
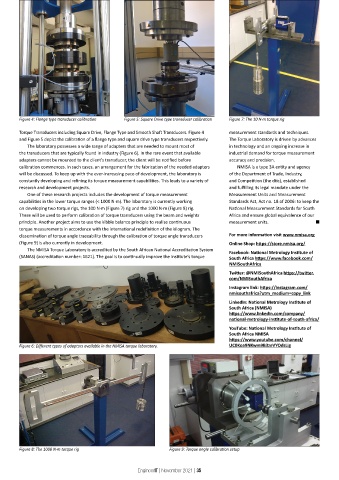
Figure 4: Flange type transducer calibration  Figure 5: Square Drive type transducer calibration  Figure 7: The 10 N∙m torque rig
        Torque Transducers including Square Drive, Flange Type and Smooth Shaft Transducers. Figure 4   measurement standards and techniques.
        and Figure 5 depict the calibration of a flange type and square drive type transducers respectively.  The Torque Laboratory is driven by advances
           The laboratory possesses a wide range of adapters that are needed to mount most of   in technology and an ongoing increase in
        the transducers that are typically found in industry (Figure 6). In the rare event that available   industrial demand for torque measurement
        adapters cannot be mounted to the client’s transducer, the client will be notified before   accuracy and precision.
        calibration commences. In such cases, an arrangement for the fabrication of the needed adapters   NMISA is a type 3A entity and agency
        will be discussed. To keep up with the ever-increasing pace of development, the laboratory is   of the Department of Trade, Industry,
        constantly developing and refining its torque measurement capabilities. This leads to a variety of   and Competition (the dtic), established
        research and development projects.                                        and fulfilling its legal mandate under the
           One of these research projects includes the development of torque measurement   Measurement Units and Measurement
        capabilities in the lower torque ranges (< 1000 N∙m). The laboratory is currently working   Standards Act, Act no. 18 of 2006: to keep the
        on developing two torque rigs, the 100 N∙m (Figure 7) rig and the 1000 N∙m (Figure 8) rig.   National Measurement Standards for South
        These will be used to perform calibration of torque transducers using the beam and weights   Africa and ensure global equivalence of our
        principle. Another project aims to use the kibble balance principle to realise continuous   measurement units.   n
        torque measurements in accordance with the international redefinition of the kilogram. The
        dissemination of torque angle traceability through the calibration of torque angle transducers   For more information visit www.nmisa.org
        (Figure 9) is also currently in development.                              Online Shop: https://store.nmisa.org/
           The NMISA Torque Laboratory is accredited by the South African National Accreditation System   Facebook: National Metrology Institute of
        (SANAS) (accreditation number: 1621). The goal is to continually improve the Institute’s torque   South Africa https://www.facebook.com/
                                                                                  NMISouthAfrica
                                                                                  Twitter: @NMISouthAfrica https://twitter.
                                                                                  com/NMISouthAfrica
                                                                                  Instagram link: https://instagram.com/
                                                                                  nmisouthafrica?utm_medium=copy_link
                                                                                  LinkedIn: National Metrology Institute of
                                                                                  South Africa (NMISA)
                                                                                  https://www.linkedin.com/company/
                                                                                  national-metrology-institute-of-south-africa/
                                                                                  YouTube: National Metrology Institute of
                                                                                  South Africa NMISA
                                                                                  https://www.youtube.com/channel/
        Figure 6: Different types of adaptors available in the NMISA torque laboratory.  UC0Koa9NKwm9B3zeVYOdsLig


        Figure 8: The 1000 N∙m torque rig                    Figure 9: Torque angle calibration setup


                                                 EngineerIT | November 2021 | 35

